Jenkins Declarative Pipeline with Docker

Rajat Chauhan is a skilled Devops Engineer, having experience in automating, configuring, deploying releasing and monitoring the applications on cloud environment.
• Good experience in areas of DevOps, CI/CD Pipeline, Build and Release management, Hashicorp Terraform, Containerization, AWS, and Linux/Unix Administration. • As a DevOps Engineer, my objective is to strengthen the company’s applications and system features, configure servers and maintain networks to reinforce the company’s technical performance. • Ensure that environment is performing at its optimum level, manage system backups and provide infrastructure support. • Experience working on various DevOps technologies/ tools like GIT, GitHub Actions, Gitlab, Terraform, Ansible, Docker, Kubernetes, Helm, Jenkins, Prometheus and Grafana, and AWS EKS, DevOps, Jenkins. • Positive attitude, strong work ethic, and ability to work in a highly collaborative team environment. • Self-starter, Fast learner, and a Team player with strong interpersonal skills • Developed shell scripts (Bash) for automating day-to-day maintenance tasks on top of that have good python scripting skills. • Proficient in communication and project management with good experience in resolving issues.
Jenkins is a widely-used tool for continuous integration and continuous delivery (CI/CD), and Docker provides a streamlined way to develop, ship, and run applications in containers. Integrating Docker with Jenkins enhances automation and consistency in your CI/CD workflows. In this blog, we'll dive deep into how to create a Docker-integrated Jenkins declarative pipeline, utilizing both shell commands and Groovy Docker syntax, and handling potential issues that arise when running jobs multiple times.
1. Introduction
Continuous integration and deployment are critical aspects of modern software development. Jenkins, an open-source automation server, excels in automating these processes. Docker, with its containerization technology, complements Jenkins by encapsulating applications and their dependencies into portable containers. This blog will guide you through setting up a Jenkins pipeline that integrates Docker, providing examples and best practices for building and running Docker containers.
2. Setting Up the Jenkins Declarative Pipeline
Jenkins declarative pipelines offer a structured and readable way to define your CI/CD workflows. Below are the steps to configure a basic Docker-integrated Jenkins pipeline using shell commands and Groovy Docker syntax.
Task-01
Create a docker-integrated Jenkins declarative pipeline
Use the above-given syntax using
shinside the stage blockYou will face errors in case of running a job twice, as the docker container will be already created, so for that do task 2
2.1 Using Shell Commands
In Jenkins declarative pipelines, you can use the sh step to execute shell commands. This approach is straightforward but might lead to issues when running jobs multiple times, especially if containers or images already exist.
Pipeline Configuration with Shell Commands:
pipeline{
agent any{
stages{
stage("code"){
steps{
git url: "https://github.com/rajatchauhan-git/node-todo-cicd", branch: "master"
echo "code cloned sucessfully"
}
}
stage("build"){
steps{
sh 'docker build -t node-app:latest .'
echo "code build successfully"
}
}
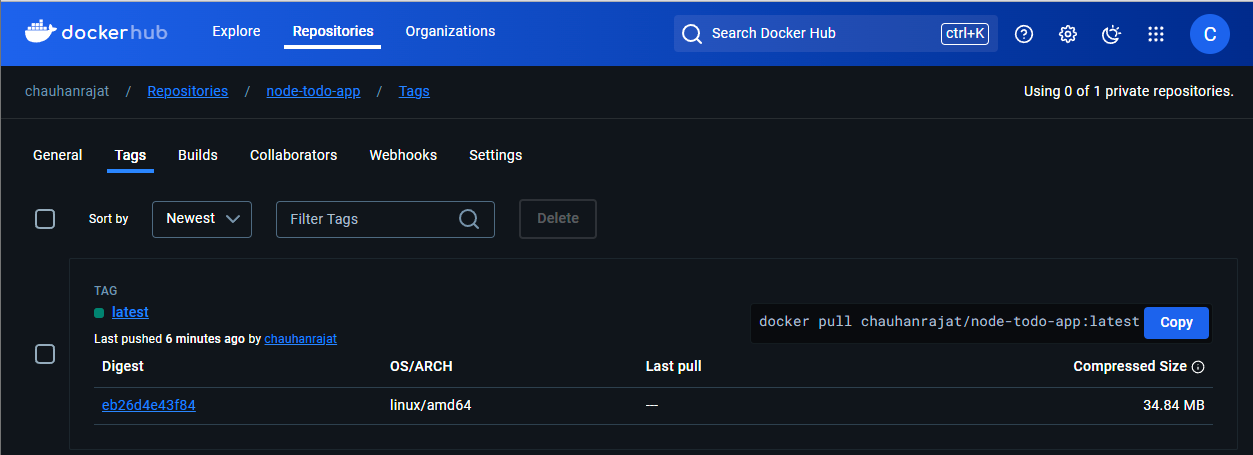
stage("Push to Private Docker Hub Repo"){
stpes{
withCredentials([usernamePassword(credentialsId:"DockerCreds",passwordVariable:"dockerPass", usernameVariable:"dockerUser")]){
sh "docker login -u ${env.dockerUser} -p ${env.dockerPass}"
sh "docker tag node-app:latest ${env.dockerUser}/node-app:latest"
sh "docker push ${env.dockerUser}/node-app:latest"
echo "Docker Image Pushed successfully"
}
}
}
stage("deploy"){
steps{
sh "docker-compose up -d"
echo "Node-app deployed Sucessfully"
}
}
}
}
}
}
Task-02
Create a docker-integrated Jenkins declarative pipeline using the
dockergroovy syntax inside the stage block.You won't face errors, you can Follow this documentation
Complete your previous projects using this Declarative pipeline approach
2.2 Using Docker Groovy Syntax
Jenkins provides a docker directive in the pipeline DSL, offering a more integrated approach to manage Docker containers. This method helps handle errors and avoid common issues more gracefully.
Pipeline Configuration with Docker Groovy Syntax:
pipeline {
    agent any

    stages {
        stage("code") {
            steps {
                git url: "https://github.com/rajatchauhan-git/node-todo-cicd", branch: "master"
                echo "code cloned successfully"
            }
        }

        stage("build") {
            steps {
                sh 'docker build -t node-todo-app:latest .'
                echo "code build successfully"
            }
        }

        stage("Push to Private Docker Hub Repo") {
            steps {
                withCredentials([usernamePassword(credentialsId:"DockerCreds",passwordVariable:"dockerPass", usernameVariable:"dockerUser")]) {
                    sh "docker login -u ${env.dockerUser} -p ${env.dockerPass}"
                    sh "docker tag node-todo-app:latest ${env.dockerUser}/node-todo-app:latest" // Corrected image name
                    sh "docker push ${env.dockerUser}/node-todo-app:latest" // Corrected image name
                    echo "Docker Image Pushed successfully"
                }
            }
        }

        stage("deploy") {
            steps {
                sh "docker-compose up -d" // Make sure docker-compose is installed and config is correct
                echo "Node-app deployed successfully"
            }
        }
    }
}