This project extends the deployment of a Django Notes application, initially containerized and pushed to DockerHub, by deploying and managing it on a Kubernetes cluster using Minikube. The application will be deployed using the chauhanrajat/note-app-jenkins:latest Docker image within a dedicated Kubernetes namespace, notes-app, ensuring a robust, scalable, and secure environment.
Minikube Cluster Installation
Before proceeding, ensure that Minikube is installed on your system. For detailed steps, refer to the Minikube Installation Guide.
Step 1: Namespace Creation
To organize Kubernetes resources, create a dedicated namespace named notes-app.
namespace.yml:
apiVersion: v1
kind: Namespace
metadata:
  name: notes-app

Apply the namespace configuration:
kubectl apply -f namespace.yml

Step 2: Deployment Creation
Deploy the notes-app using a Deployment resource to manage replicas and application updates.
deployment.yml:
apiVersion: apps/v1
kind: Deployment
metadata:
  name: notes-app-deployment
  namespace: notes-app
spec:
  replicas: 3
  selector:
    matchLabels:
      app: notes-app
  template:
    metadata:
      labels:
        app: notes-app
    spec:
      containers:
      - name: notes-app
        image: chauhanrajat/note-app-jenkins:latest
        ports:
        - containerPort: 8000

Apply the deployment configuration:
kubectl apply -f deployment.yml

Step 3: Service Creation
Expose the notes-app deployment using a Kubernetes Service to enable external access.
service.yml:
apiVersion: v1
kind: Service
metadata:
  name: notes-app-service
  namespace: notes-app
spec:
  selector:
    app: notes-app
  ports:
    - protocol: TCP
      port: 80
      targetPort: 8000

Apply the service configuration:
kubectl apply -f service.yml

For testing, use port forwarding to access the application:
kubectl port-forward service/notes-app-service 8000:80 --address=0.0.0.0 -n notes-app
- For testing, port forwarding of traffic.

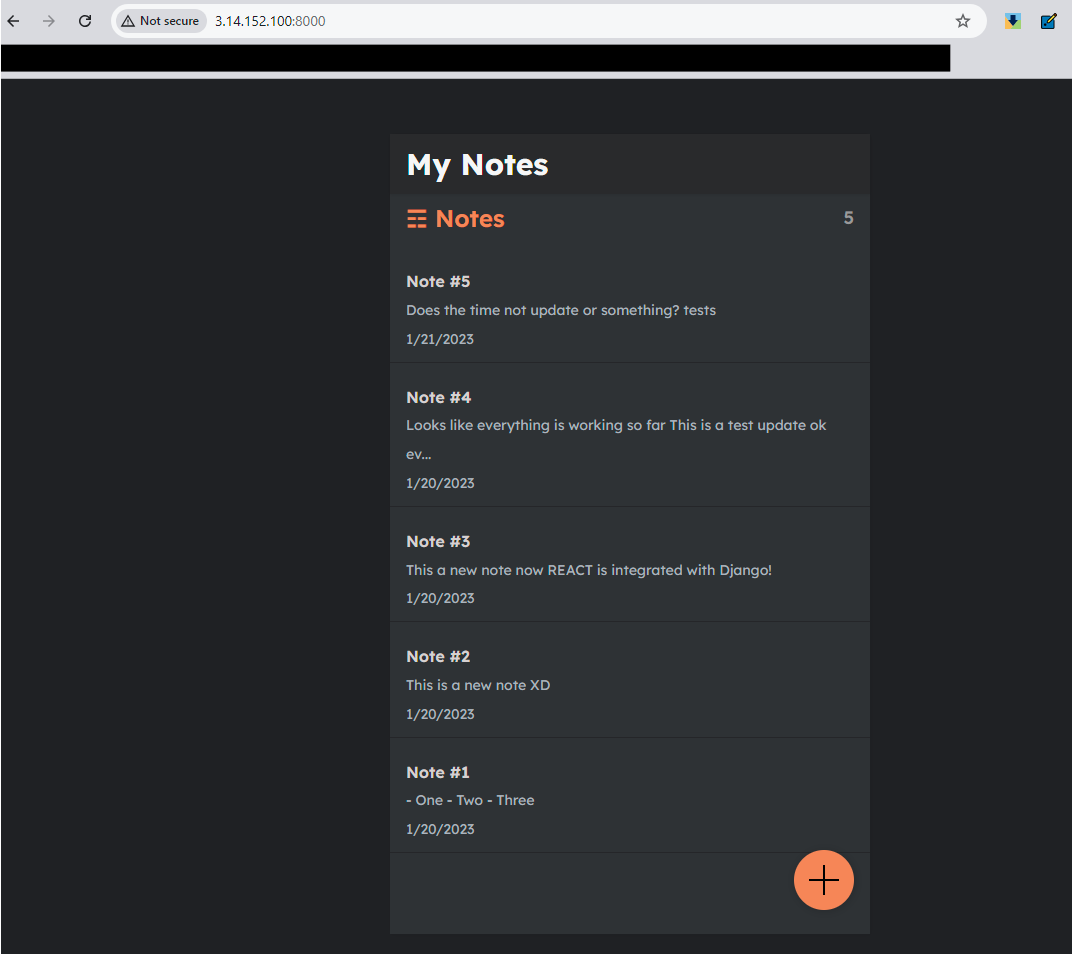
- Copy the Public IP of the instance with port 8000 and access the application on the browser.

Step 4: Persistent Volumes and Claims
Set up Persistent Volumes (PV) and Persistent Volume Claims (PVC) to handle persistent storage for the application.
pv.yml:
apiVersion: v1
kind: PersistentVolume
metadata:
  name: notes-app-pv
  namespace: notes-app
spec:
  capacity:
    storage: 5Gi
  accessModes:
    - ReadWriteOnce
  hostPath:
    path: /mnt/data

Apply the PersistentVolume configuration:
kubectl apply -f pv.yml

pvc.yml:
apiVersion: v1
kind: PersistentVolumeClaim
metadata:
  name: notes-app-pvc
  namespace: notes-app
spec:
  accessModes:
    - ReadWriteOnce
  resources:
    requests:
      storage: 5Gi

Apply the PersistentVolumeClaim configuration:
kubectl apply -f pvc.yml

Update the deployment to attach the persistent storage:
iapiVersion: apps/v1
kind: Deployment
metadata:
  name: notes-app-deployment
  namespace: notes-app
spec:
  replicas: 3
  selector:
    matchLabels:
      app: notes-app
  template:
    metadata:
      labels:
        app: notes-app
    spec:
      containers:
      - name: notes-app
        image: chauhanrajat/note-app-jenkins:latest
        ports:
        - containerPort: 8000
        volumeMounts:
        - name: notes-app-storage
          mountPath: /data  # Mount path inside the container
      volumes:
      - name: notes-app-storage
        persistentVolumeClaim:
          claimName: notes-app-pvc  # Reference to the PVC

Apply the deployment configuration:
kubectl apply -f deployment.yml
Step 5: Ingress Controller
Enable the Ingress addon in Minikube for path-based routing:
minikube addons enable ingress

Set up an Ingress resource for the application:
ingress.yml:
apiVersion: networking.k8s.io/v1
kind: Ingress
metadata:
  name: notes-app-ingress
  namespace: notes-app
spec:
  rules:
  - host: notes-app
    http:
      paths:
      - path: /
        pathType: Prefix
        backend:
          service:
            name: notes-app-service
            port:
              number: 80
      - path: /app
        pathType: Prefix
        backend:
          service:
            name: notes-app-service
            port:
              number: 80

Apply the Ingress configuration:
kubectl apply -f ingress.yml

Add a domain entry in /etc/hosts:
sudo nano /etc/hosts

Test the application by sending a query to the URL:
curl notes-app

- This is what we called it as path-based routing using the Ingress controller.
Step 6: Network Policies and CNI
Define Network Policies to control the network traffic between pods.
networkPolicy.yml:
apiVersion: networking.k8s.io/v1
kind: NetworkPolicy
metadata:
  name: notes-app-network-policy
  namespace: notes-app
spec:
  podSelector:
    matchLabels:
      app: notes-app
  policyTypes:
  - Ingress
  - Egress
  ingress:
  - from:
    - podSelector:
        matchLabels:
          app: notes-app
  egress:
  - to:
    - podSelector:
        matchLabels:
          app: notes-app

Apply the NetworkPolicy configuration:
kubectl apply -f networkPolicy.yml

Step 7: Job and CronJob
Define a Job for one-time tasks and a CronJob for scheduled tasks.
job.yml:
apiVersion: batch/v1
kind: Job
metadata:
  name: notes-app-job
  namespace: notes-app
spec:
  template:
    spec:
      containers:
      - name: notes-app-job
        image: chauhanrajat/note-app-jenkins:latest
        ports:
        - containerPort: 8000
      restartPolicy: OnFailure

cron.yml:
apiVersion: batch/v1
kind: CronJob
metadata:
  name: notes-app-cronjob
  namespace: notes-app
spec:
  schedule: "0 2 * * *"  # Daily at 2 AM
  jobTemplate:
    spec:
      template:
        spec:
          containers:
          - name: notes-app-cronjob
            image: chauhanrajat/note-app-jenkins:latest
            ports:
            - containerPort: 8000
          restartPolicy: OnFailure

Apply the configurations:
kubectl apply -f job.yml
kubectl apply -f cron.yml

Step 8: Horizontal Pod Autoscaler (HPA)
Enable the metrics-server addon in Minikube for HPA:
minikube addons enable metrics-server

Modify the deployment to include resource limits:
apiVersion: apps/v1
kind: Deployment
metadata:
  name: notes-app-deployment
  namespace: notes-app
spec:
  replicas: 1
  selector:
    matchLabels:
      app: notes-app
  template:
    metadata:
      labels:
        app: notes-app
    spec:
      containers:
      - name: notes-app
        image: chauhanrajat/note-app-jenkins:latest
        ports:
        - containerPort: 8000
        resources:
          requests:
            cpu: "100m"
          limits:
            cpu: "200m"

Implement HPA:
hpa.yml:
apiVersion: autoscaling/v2
kind: HorizontalPodAutoscaler
metadata:
  name: notes-app-hpa
  namespace: notes-app
spec:
  scaleTargetRef:
    apiVersion: apps/v1
    kind: Deployment
    name: notes-app-deployment
  minReplicas: 1
  maxReplicas: 5
  metrics:
  - type: Resource
    resource:
      name: cpu
      target:
        type: Utilization
        averageUtilization: 15

Apply the HPA configuration:
kubectl apply -f hpa.yml

Monitor CPU utilization and autoscaling:
watch kubectl get hpa -n notes-app

Step 9: Role-Based Access Control (RBAC)
Create a service account:
kubectl create serviceaccount k8s-user

Define a Role and RoleBinding for RBAC:
role.yml:
apiVersion: rbac.authorization.k8s.io/v1
kind: Role
metadata:
  name: notes-app-role
  namespace: notes-app
rules:
- apiGroups: [""]
  resources: ["pods"]
  verbs: ["get", "list", "watch"]

roleBinding.yml:
apiVersion: rbac.authorization.k8s.io/v1
kind: RoleBinding
metadata:
  name: notes-app-rolebinding
  namespace: notes-app
subjects:
- kind: User
  name: k8s-user # Replace with your Kubernetes user
  apiGroup: rbac.authorization.k8s.io
roleRef:
  kind: Role
  name: notes-app-role
  apiGroup: rbac.authorization.k8s.io
Role defines permissions, and RoleBinding assigns those permissions to a user or set of users.
Testing of RBAC configurations,
Run commands using --as=user flag (Where
useris the name of the user you wish to impersonate.)As
k8s-userhas to get permission,
Step 10: Testing application on the browser
- Forward port on containerPort from the local port and try to access the application,
kubectl port-forward service/notes-app-service 8000:80 --address=0.0.0.0 -n notes-app


